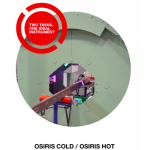
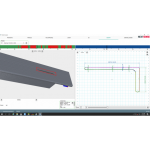
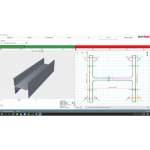
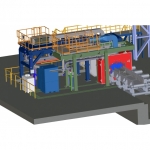
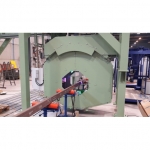
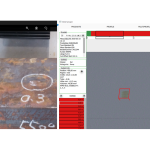
Using state-of-the-art laser light section technology and high sampling rates, OSIRIS HOT and OSIRIS COLD create a complete 3D reconstruction of the product to be inspected during production in real time. The dimensional accuracy of the profile shape (e.g. width, height) is checked and the surface is examined for deviations by comparing the 3D data with your personal reference data. The measurement results can be reviewed and analyzed in real time on a control terminal. The automatically created measurement reports – which are integrated in your material tracking system – maintain complete quality control.
OSIRIS HOT identifies defects in rolled materials that are still hot during the production process. This makes it possible to initiate corrective measures earlier and therefore significantly reduce the reject rate. By combining the two measurement tasks, OSIRIS HOT and OSIRIS COLD halve time and money spent on mechanics, sensors, space, servicing and maintenance, compared to running two separate systems. This, in turn, results in lower purchase costs and minimal maintenance costs.
.png)
SOLUTION
SOLUTION
DETAILS


